Embarking on a project migration to a new tool may seem like a daunting journey, especially when adapting to Cypress requires mastering JavaScript and understanding the mocha framework. However, the silver lining lies in Cypress Studio, an integrated tool within Cypress. This visual gem simplifies the creation and modification of test scripts through a graphical interface, offering a user-friendly alternative for those not as comfortable with coding.
What is Cypress Studio?
Cypress Studio is an integrated tool within Cypress that simplifies the creation and modification of automated test scripts. It offers a user-friendly experience by allowing users to capture interactions with the application under test through a graphical interface. This visual tool supports a range of activities, including selecting items from drop-down menus, checking radio buttons, clicking buttons, and entering text into input fields.
Key Benefits of Cypress Studio
Cypress Studio, making a triumphant return with Version 10.7, proves to be a game-changer for developers and testers alike. This tool seamlessly integrates Cypress commands like .click(),.type(),.check(),.uncheck(), and .select() to interact with the DOM, streamlining the test code generation process.
Key Advantages Include:
Rapid Test Script Creation: Cypress Studio revolutionizes script creation by allowing users to record the UI interactions of a website. Bid farewell to starting scripts from scratch; testers can effortlessly record their actions, simplifying the testing process.
Reduced Learning Curve: Particularly beneficial for teams transitioning to Cypress or venturing into automation testing for the first time, Cypress Studio's recording feature acts as a welcoming entry point. Teams can initiate script creation without delving into the intricacies of the framework and scripting language.
Code Reusability: Leverage the advantage of code reusability with Cypress Studio. Recorded code can be reused, expediting script creation in the QA process and promoting efficiency.
Enhanced Debugging: Developers and QA teams benefit from Cypress Studio's visual interface for debugging purposes. Quickly identify issues, visually assess the application's status at different stages, and seamlessly navigate through test scenarios.
Visual Validation: Cypress Studio goes beyond traditional testing by supporting visual testing. Validate the visual appearance of elements on the screen effortlessly. The recording feature simplifies capturing and validating visual aspects, ensuring UI elements are displayed correctly.
How to Configure Cypress Studio
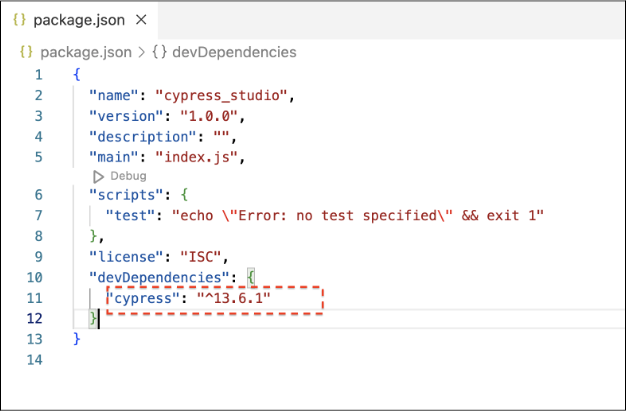
Before configuring the Cypress Studio, the first step is to install Cypress on your machine. Use the command npm install cypress --save-dev OR yarn add cypress --dev.
In the below screenshot you can see cypress version 13.6.1 is installed.
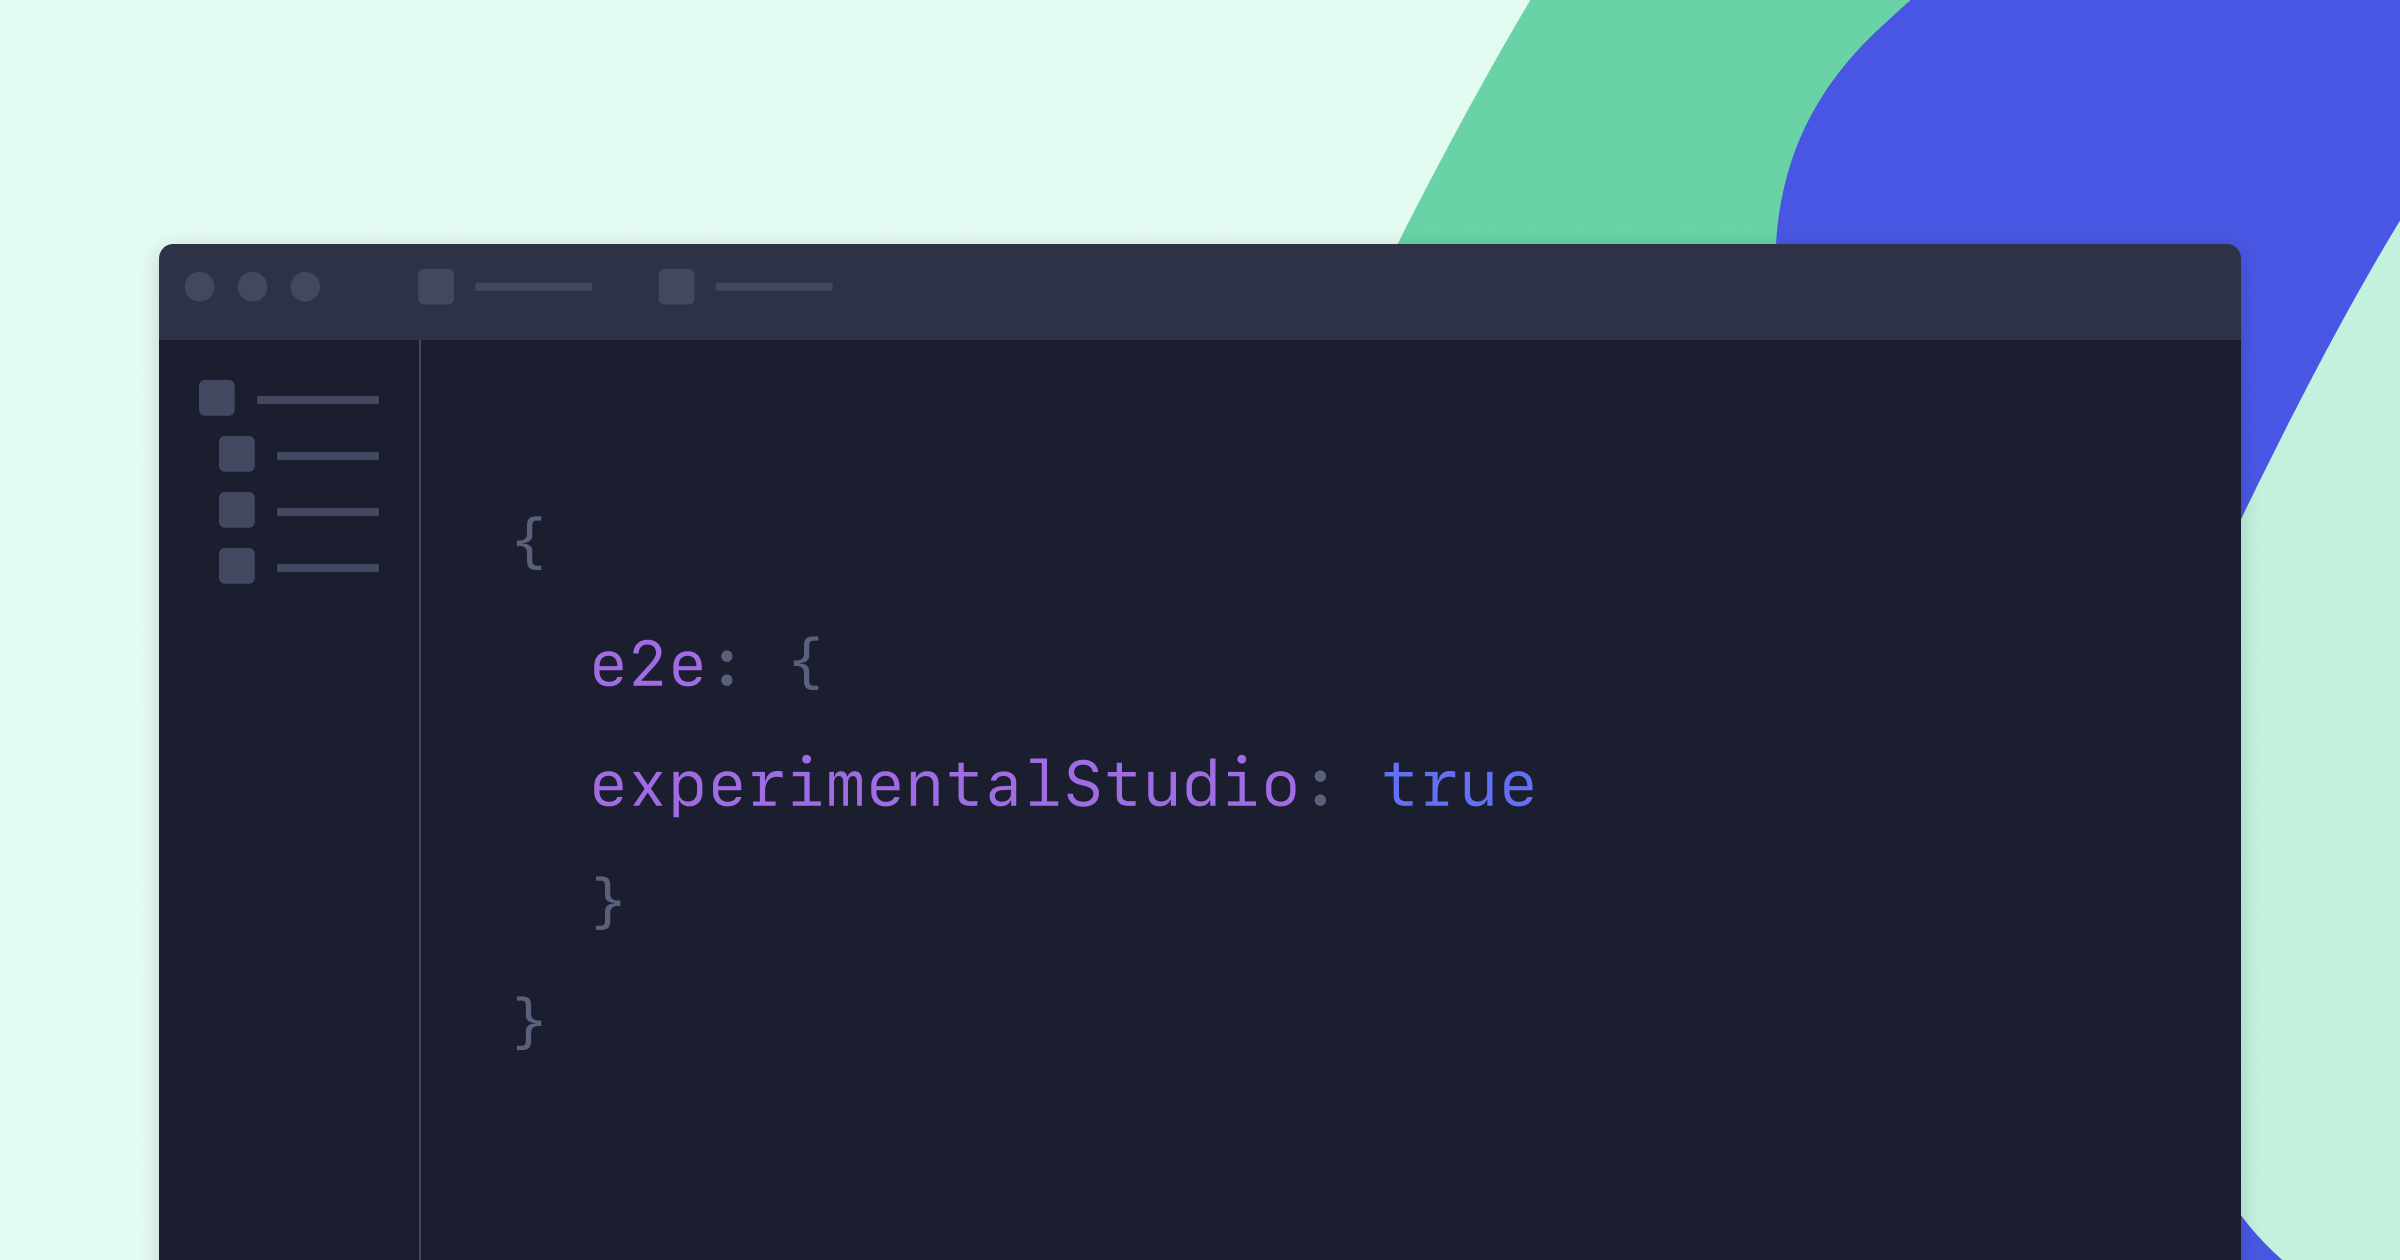
Cypress Studio can be enabled by adding the experimentalStudio attribute to your Cypress configuration. You have to set experimentalStudio:true in cypress.config.js file to enable the feature.
const { defineConfig } = require("cypress");
module.exports = defineConfig({
 e2e: {
   experimentalStudio:true,
   setupNodeEvents(on, config) {
     // implement node event listeners here
   },
 },
});
Now that we’ve enabled the flag in cypress.config.js, let’s see how we can harness the capabilities of Cypress Studio by recording the script.
Create a simple test with Cypress Studio
Below are the step to create the test script using Cypress Studio
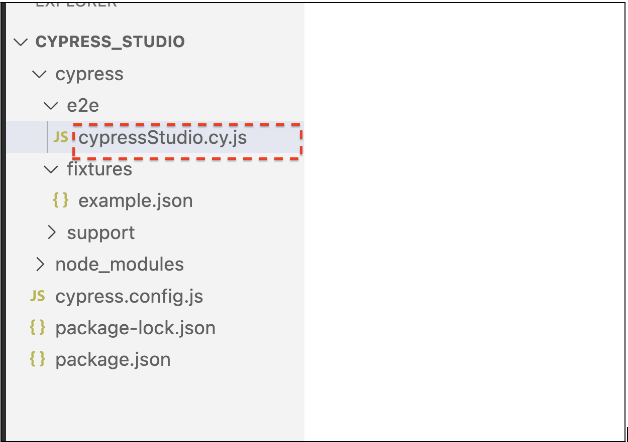
Step 1: Create Test case under e2e folder
To eliminate any confusion, we’ve cleared out all pre-existing pre-defined test cases from the e2e folder. Now let's create a new spec file, e.g., cypressStudio.cy.js.
Add the following lines to the newly created file cypressStudio.cy.js:
describe('Cypress Studio Demo', () => {});Step 2: Open Cypress
Run the command to open the Cypress runner
yarn cypress openOR
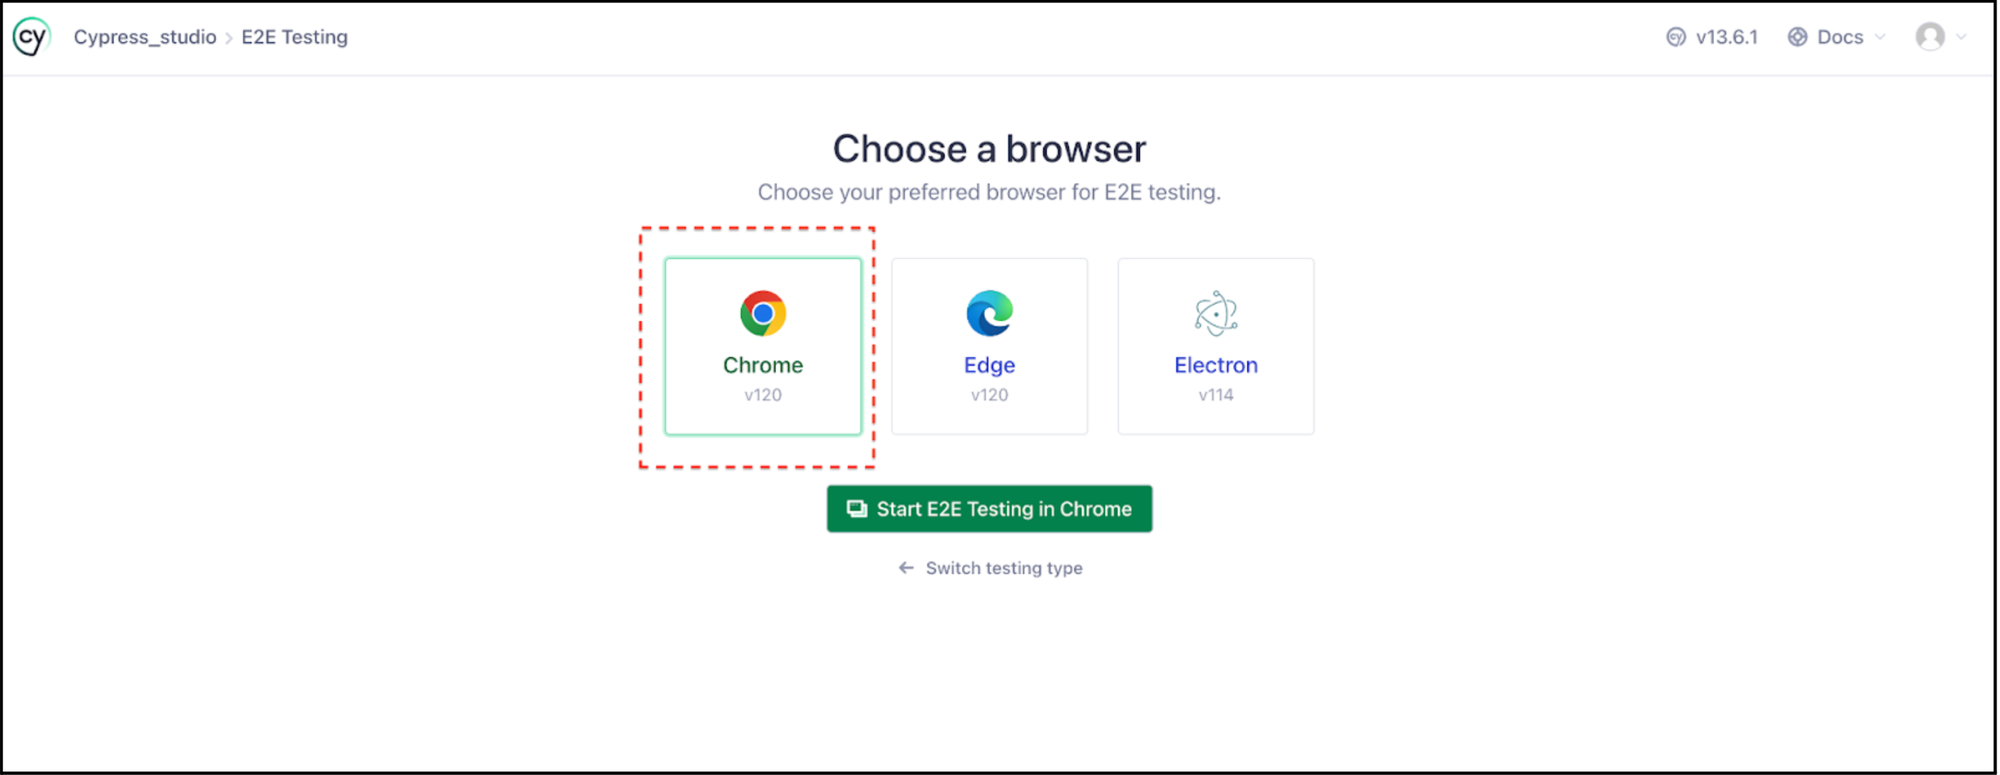
npx cypress openThe screen below becomes accessible upon executing the aforementioned command:
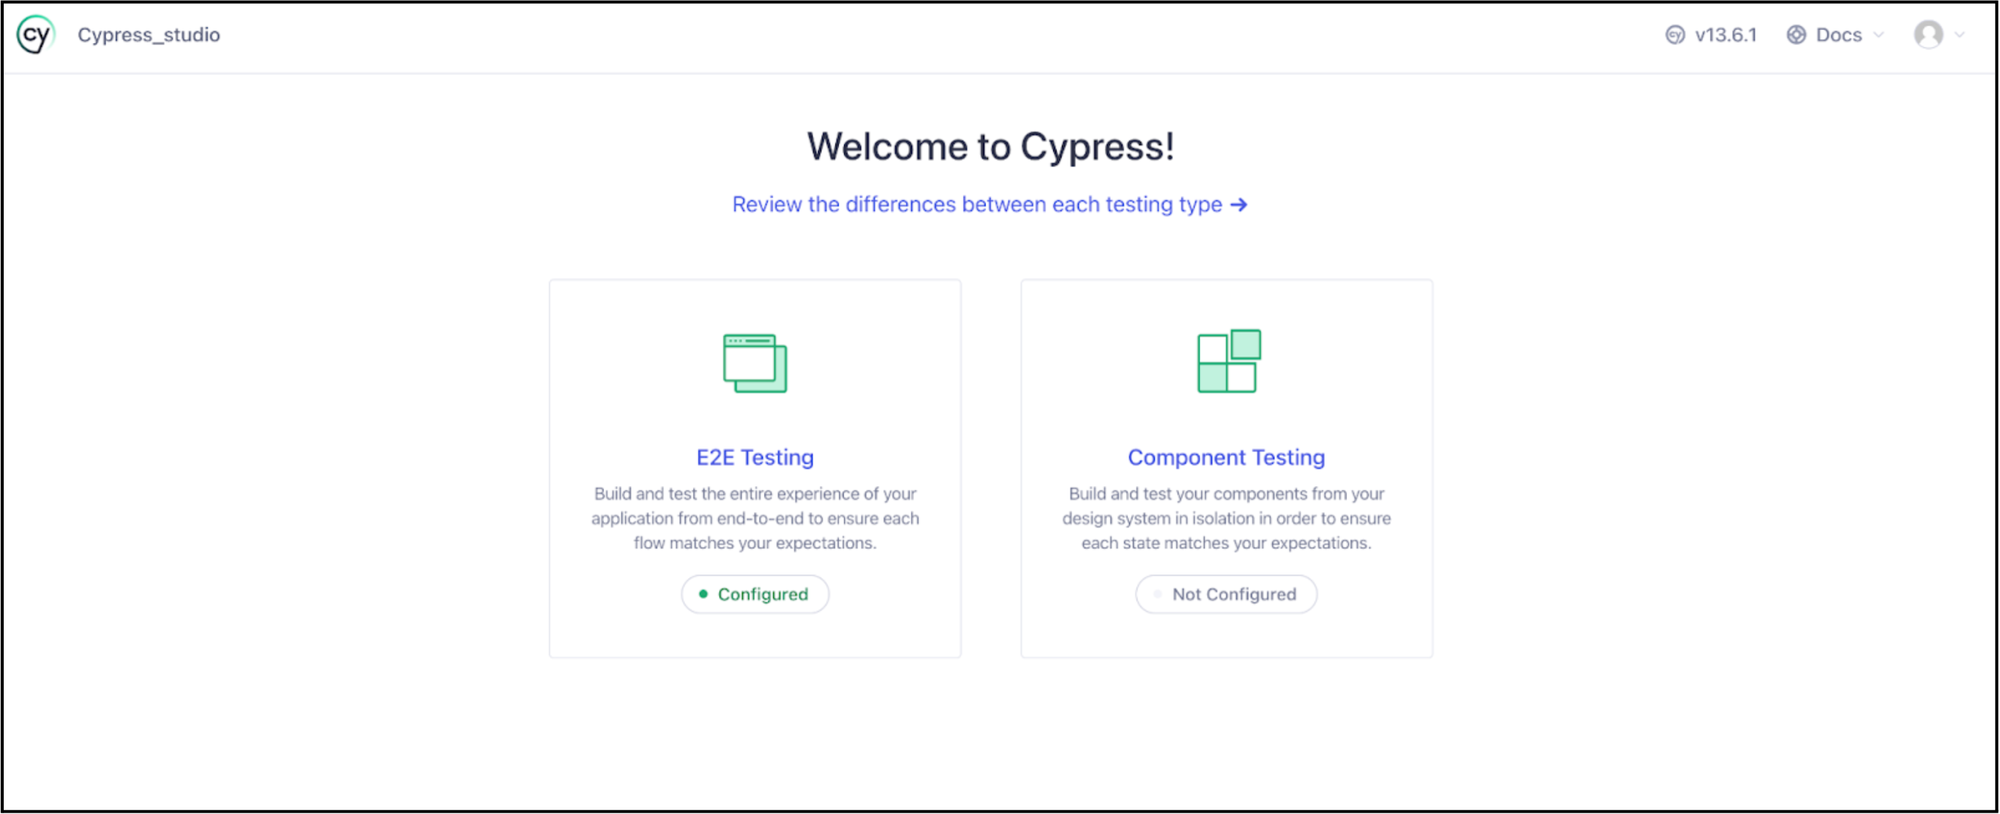
Select E2E Testing and select Chrome browser
Step 3: Open Cypress Runner
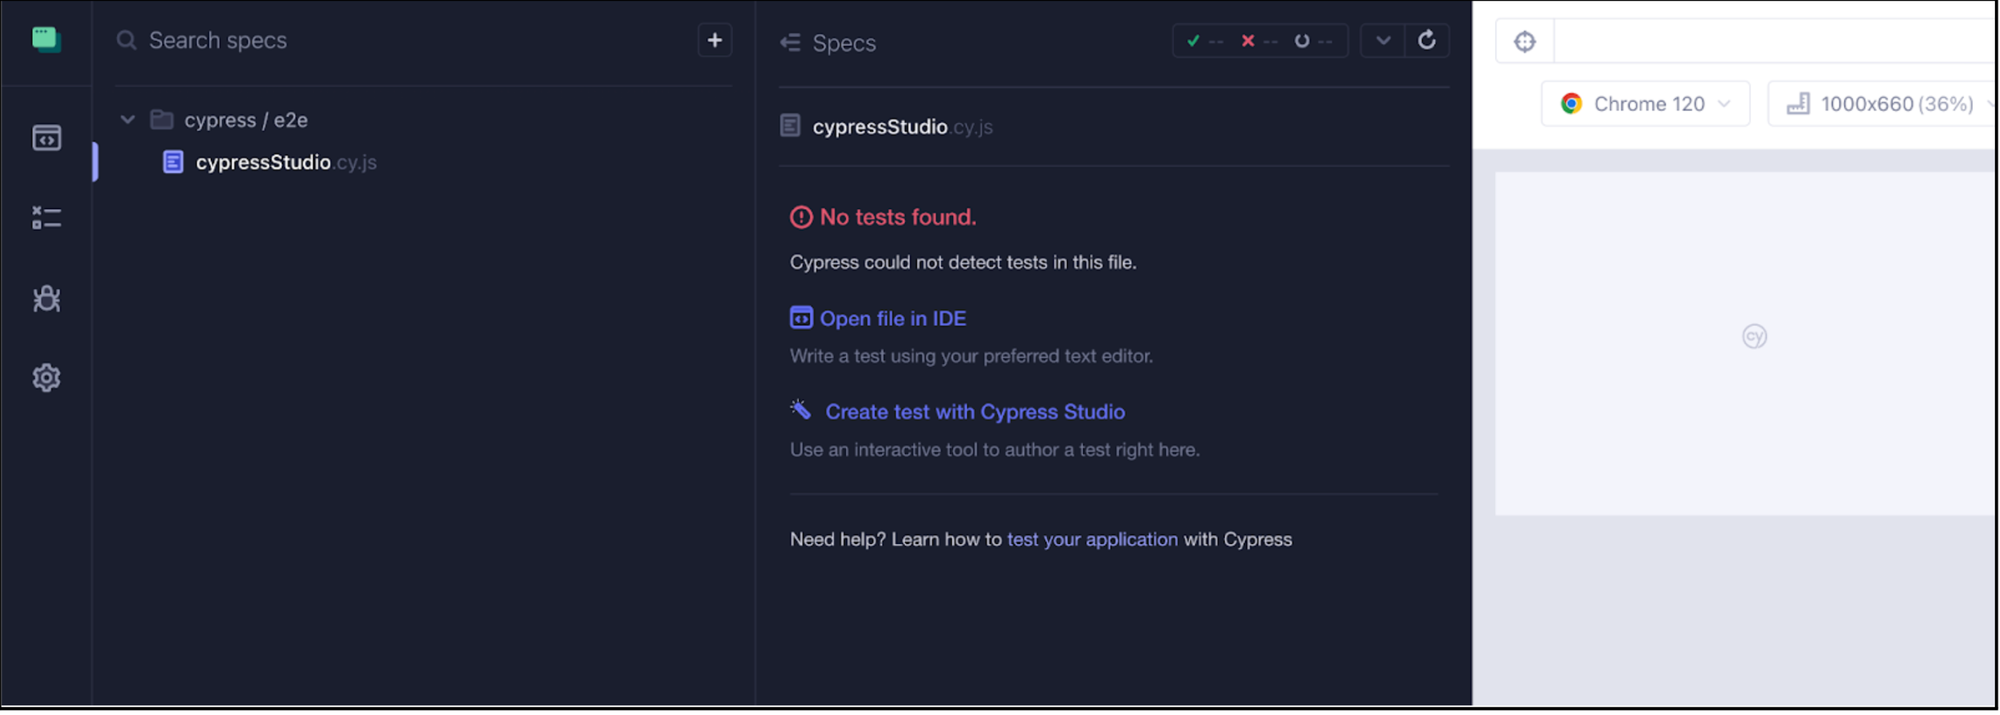
Upon selecting the browser from the above screen and click on ‘Start E2E Testing in Chrome’, it opens the screen below, displaying the created test file.

Select the .spec file from the screen above, the message "No tests found" appears along with a link to 'Create test with Cypress Studio.'
Step 4: Record the steps
For demonstration purposes, let's use the website https://www.saucedemo.com/.
We'll be recording the following scenario:

In the screenshot below, you'll find the link 'Create test with Cypress Studio.'
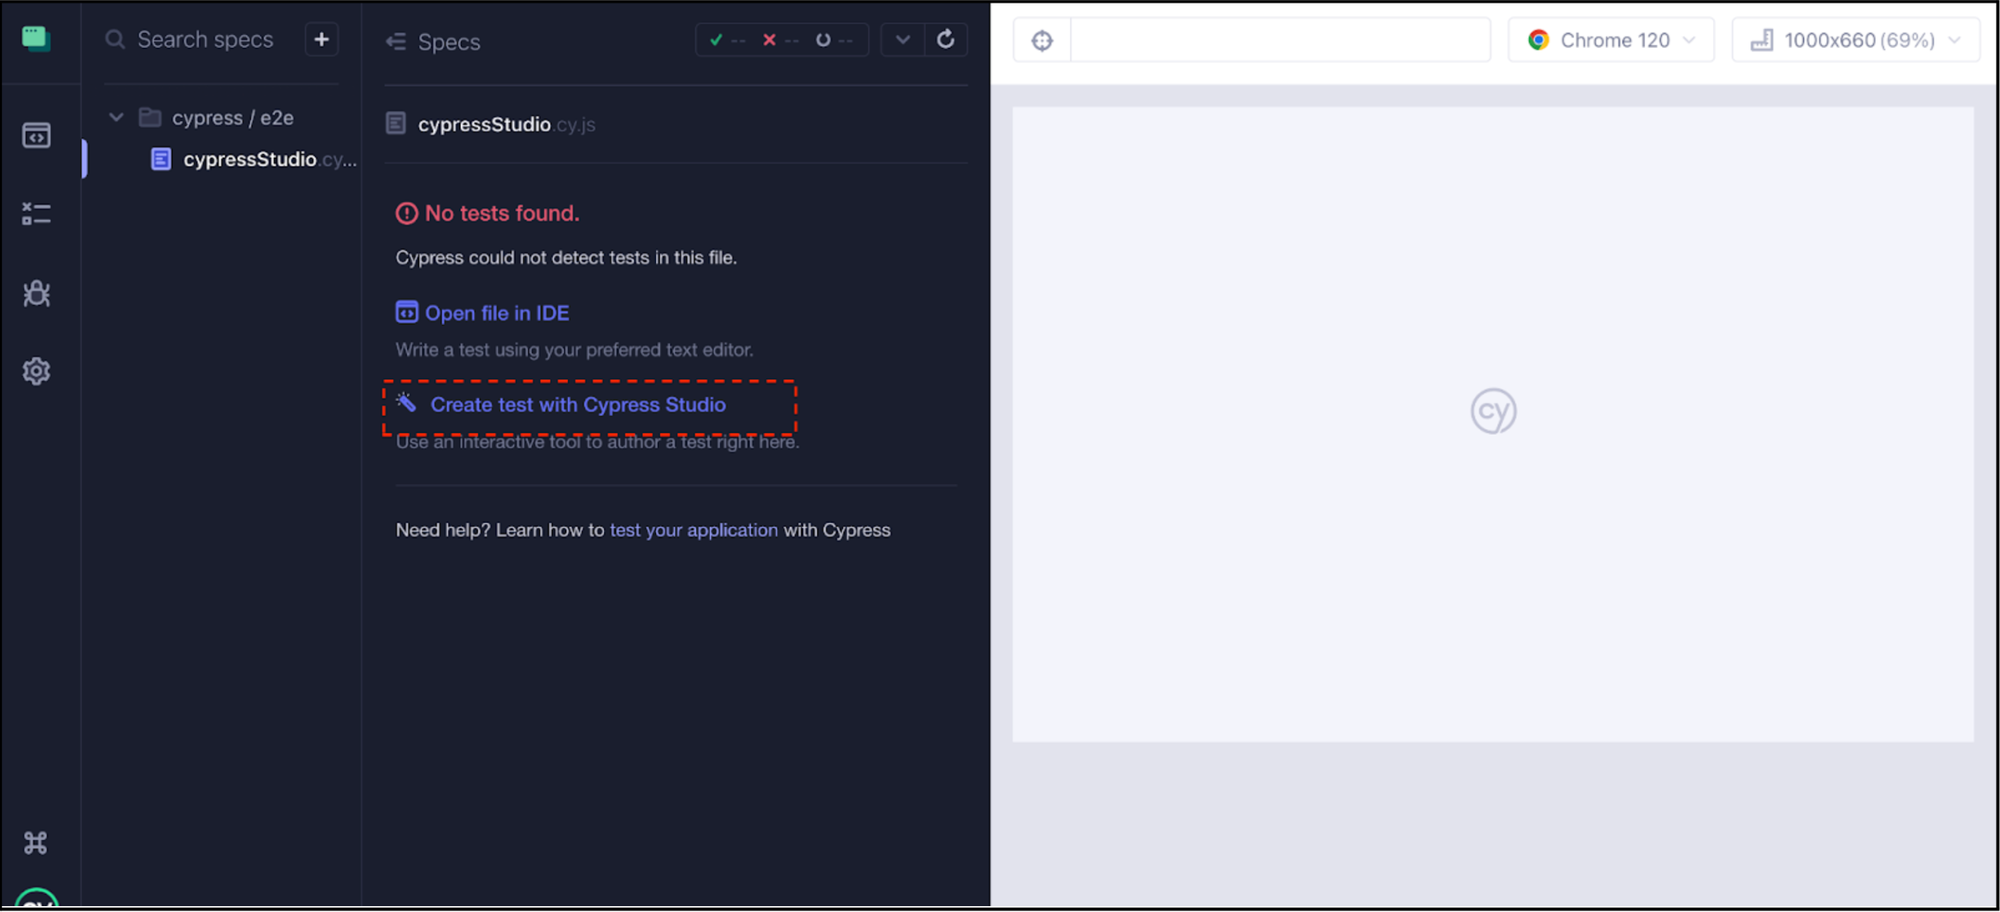
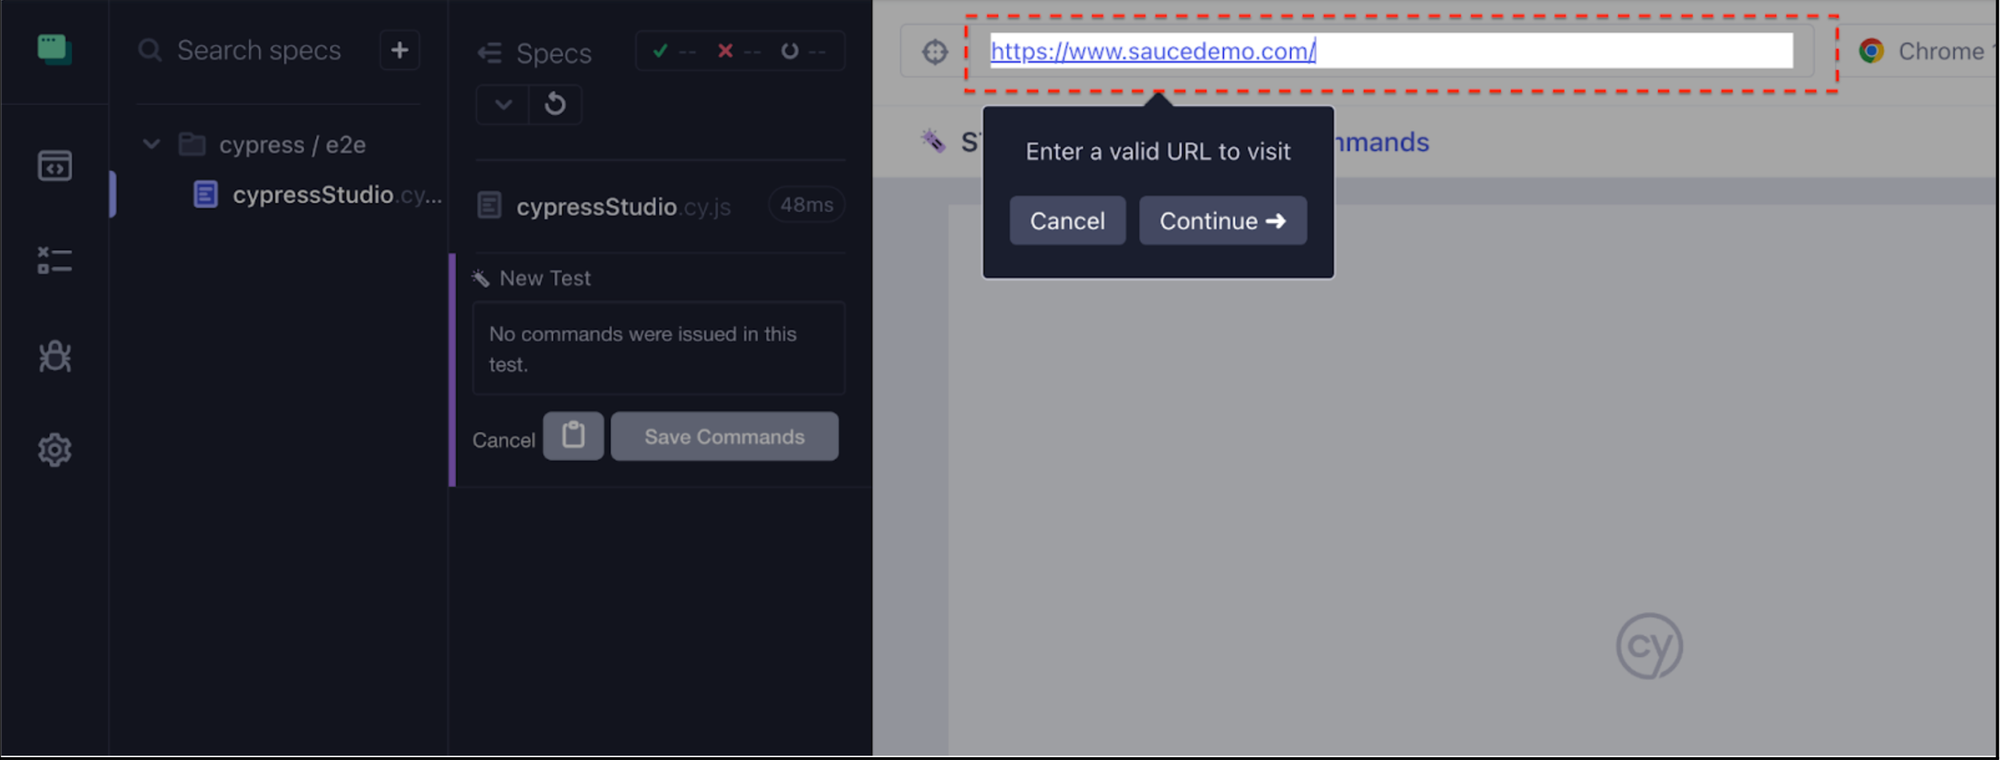
Select 'Create test with Cypress Studio.' Upon clicking this link, it will prompt you to enter the URL.
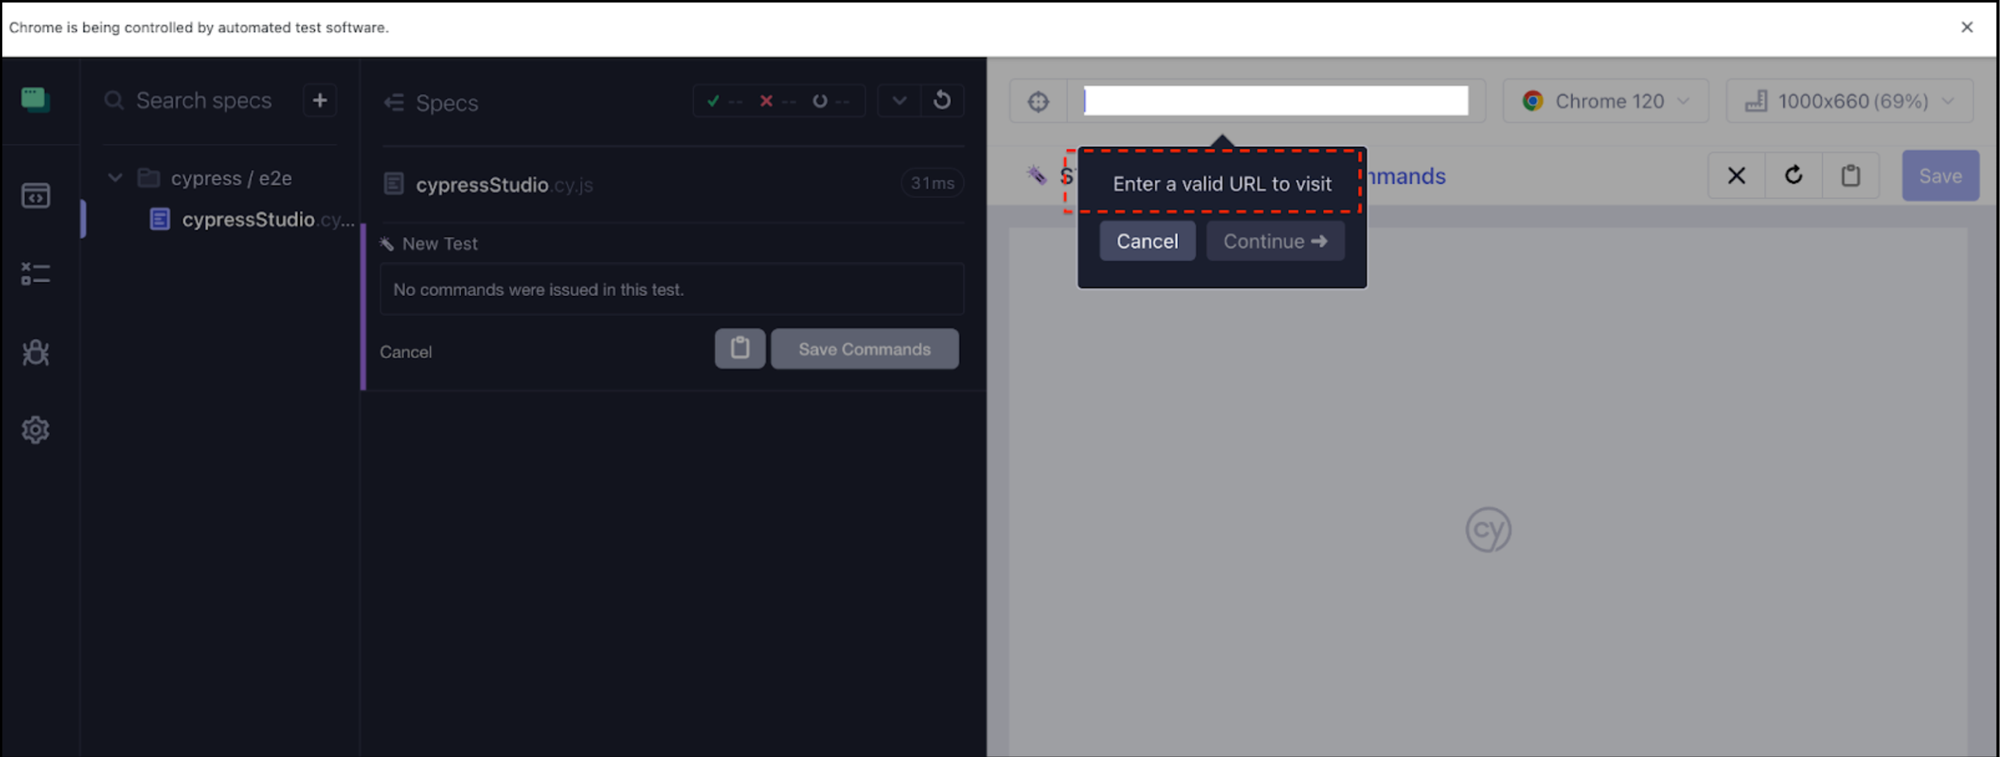
Once you've entered the URL, click on the 'Continue' button.
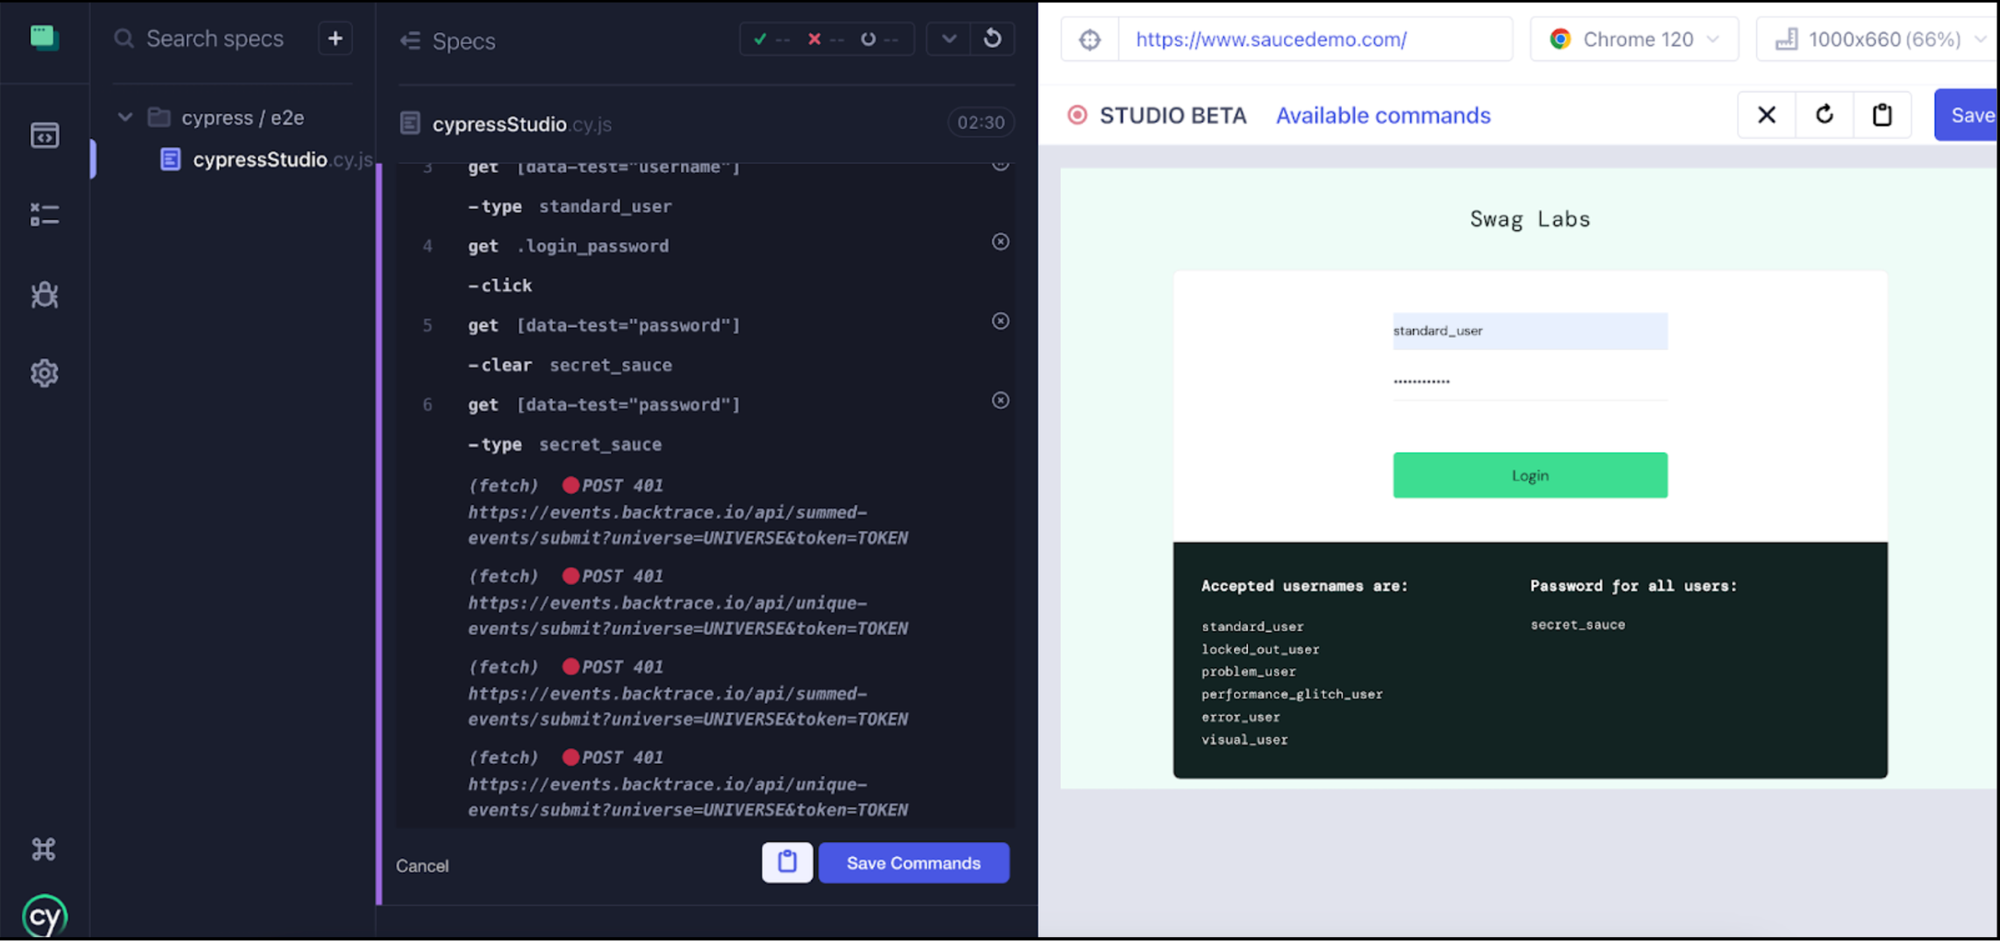
Upon clicking the 'Continue' button and providing the URL, Cypress STUDIO BETA is launched. The subsequent steps include entering the username and password, followed by clicking the 'Login' button.
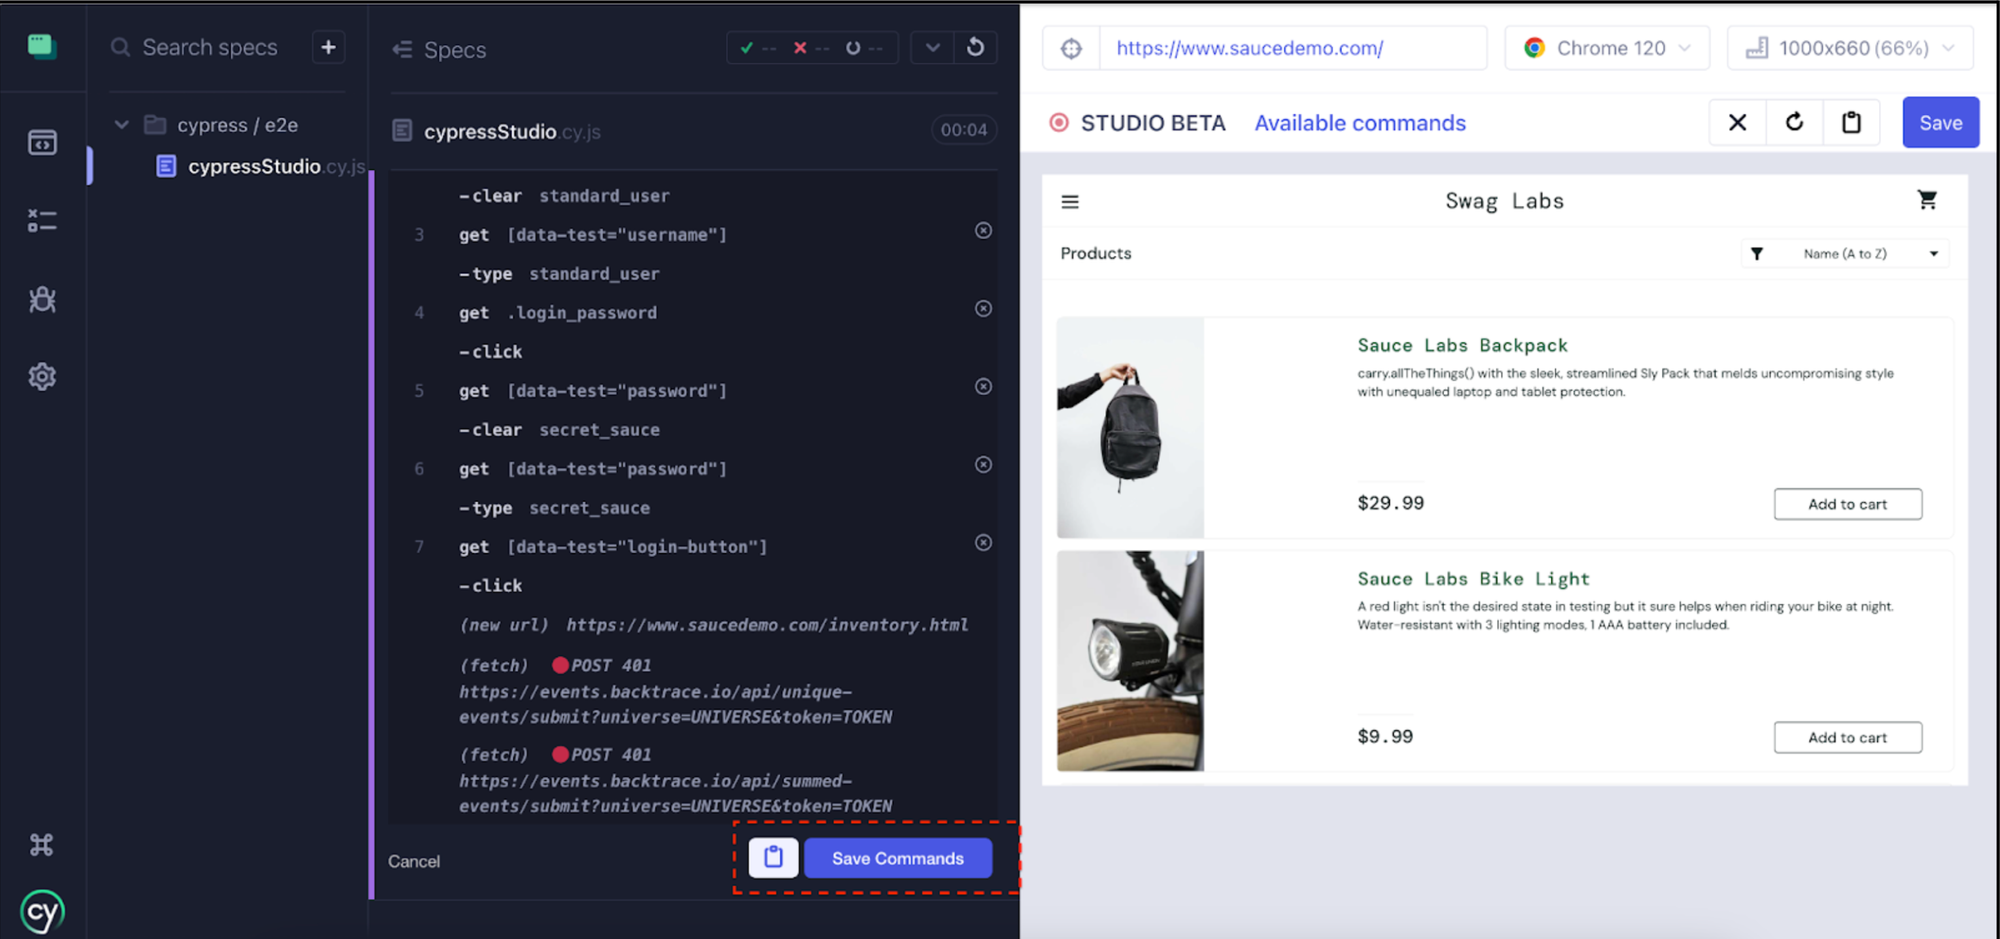
Upon running the recorded script for the mentioned scenario, click the 'Save Commands' button to preserve the recorded commands.
Provide a name, such as 'CypressStudio,' for the script and proceed to save it.

Once the script is saved, the test case is re-executed, and all the recorded steps pass successfully.
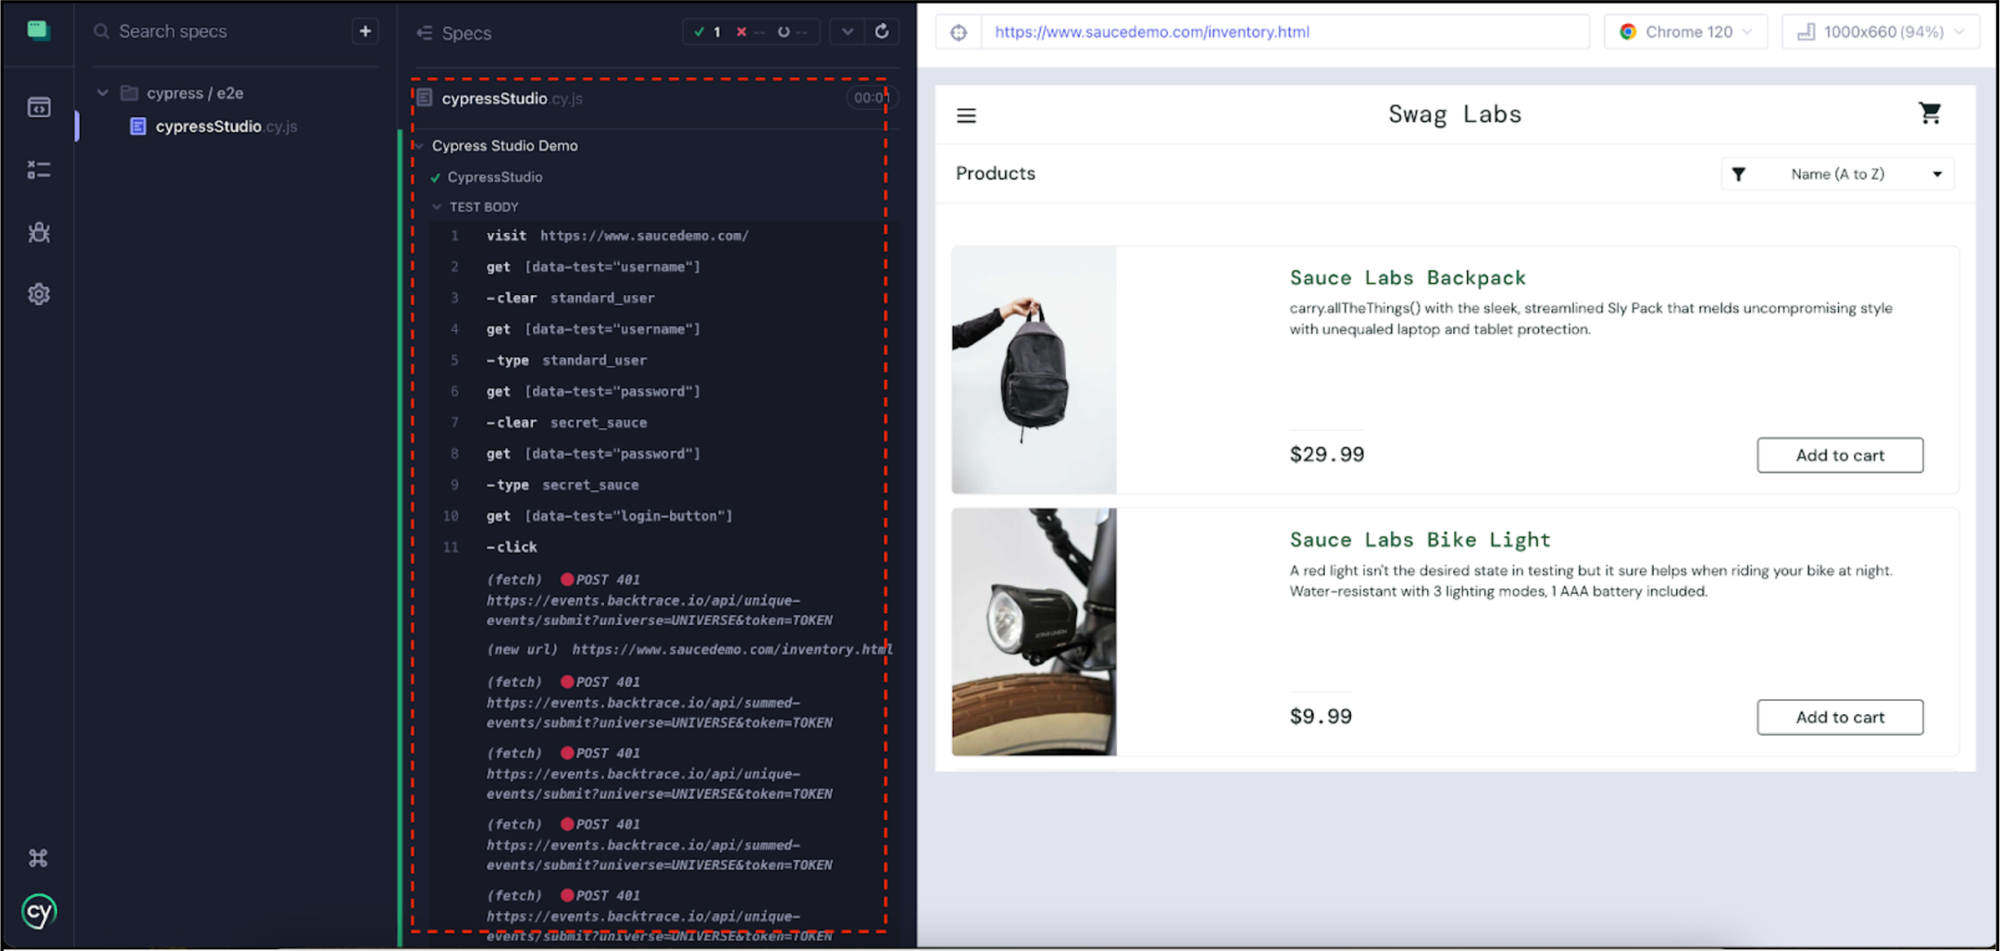
The script below has been generated by Cypress Studio, spanning from line #2 to line #11.
describe('Cypress Studio Demo', () => {
/* ==== Test Created with Cypress Studio ==== */
it('CypressStudio', function() {
 /* ==== Generated with Cypress Studio ==== */
 cy.visit('https://www.saucedemo.com/');
 cy.get('[data-test="username"]').clear('standard_user');
 cy.get('[data-test="username"]').type('standard_user');
 cy.get('[data-test="password"]').clear('secret_sauce');
 cy.get('[data-test="password"]').type('secret_sauce');
 cy.get('[data-test="login-button"]').click();
 /* ==== End Cypress Studio ==== */
});})
By default, Cypress Studio doesn't log any assertions, requiring you to incorporate them manually. To confirm the user's login status, consider adding assertions beyond line #10. These assertions can validate the presence or visibility of elements commonly associated with a logged-in state, like a hamburger menu.
Here’s an example: cy.get("#react-burger-menu-btn").should("be.visible");
Recording Script Options
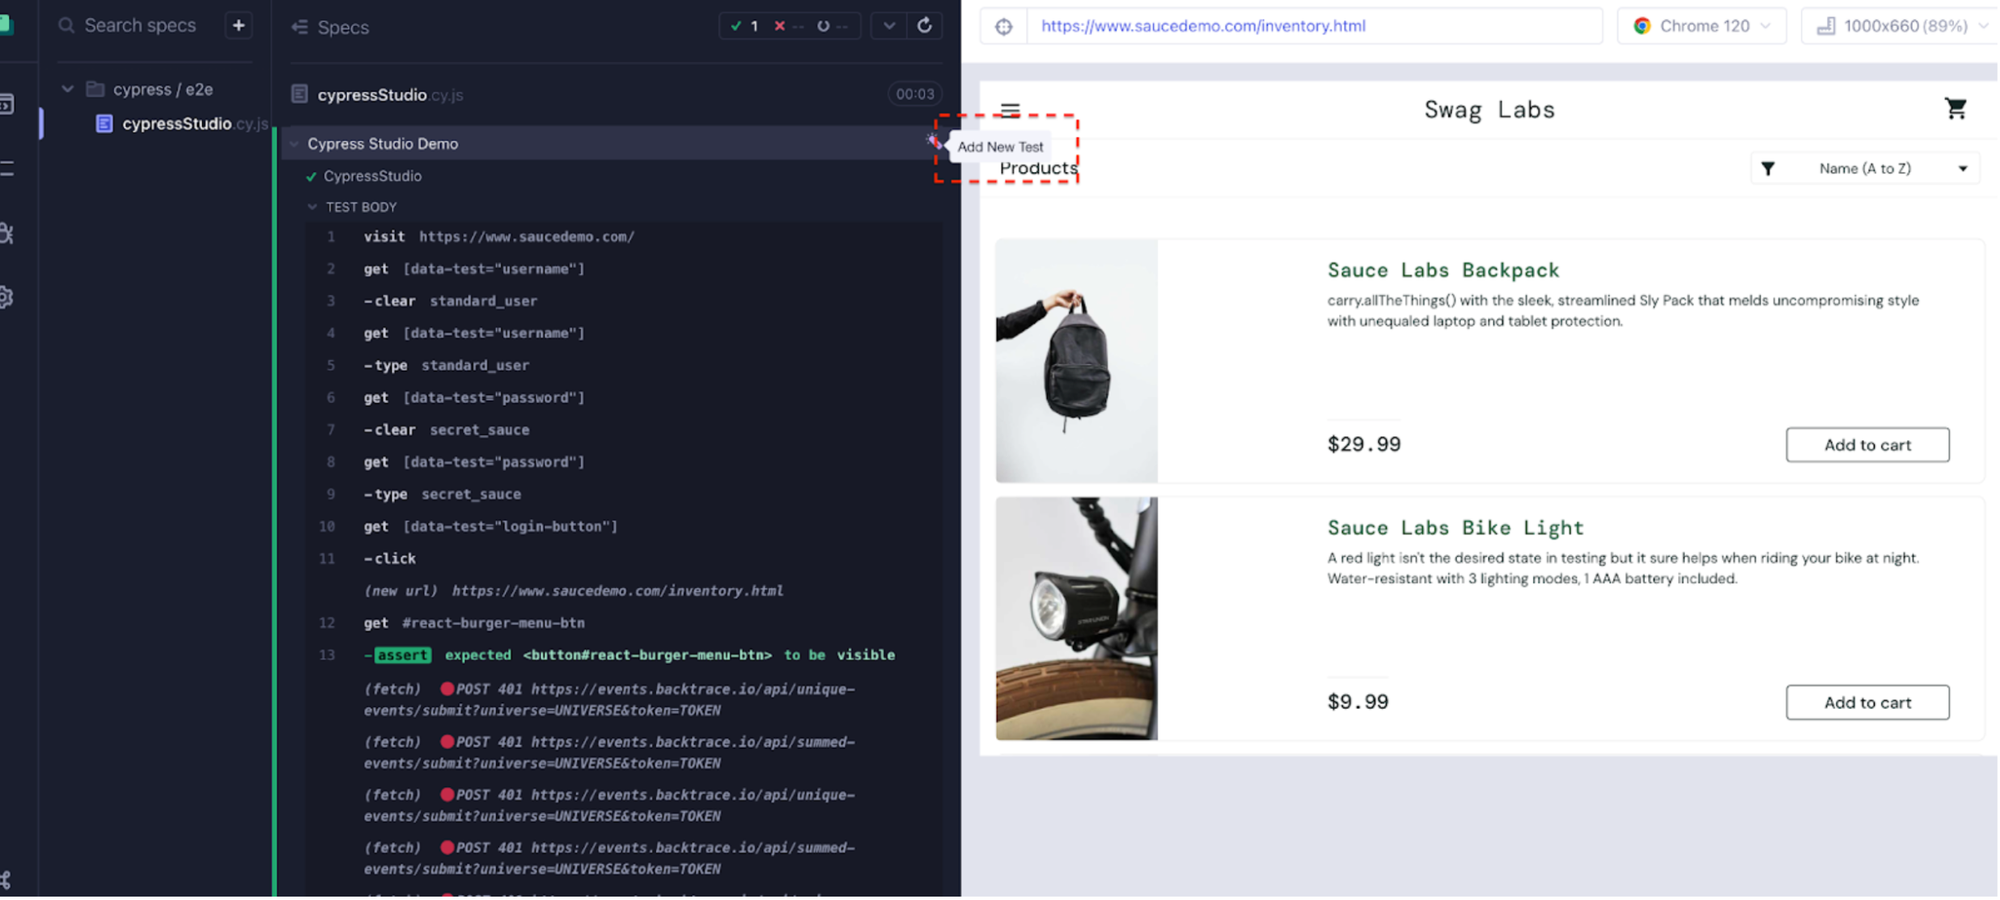
There are two distinct options available for recording scripts, each elaborated below. Within the Cypress runner, these options are clearly visible.
- Add New Test:
This option empowers you to create a fresh test in Cypress, providing the flexibility to define and execute a specific set of test scenarios.
- Add Commands to Test:
Opt for this option to append commands to an existing test. This allows you to extend its functionality or alter its behavior by incorporating additional Cypress commands.
Add New Test:
Selecting 'Add New Test' prompts the entry of the URL, with the subsequent steps mirroring those outlined in the previous explanation for clicking on 'Create test with Cypress Studio.'
Add Commands to Test:
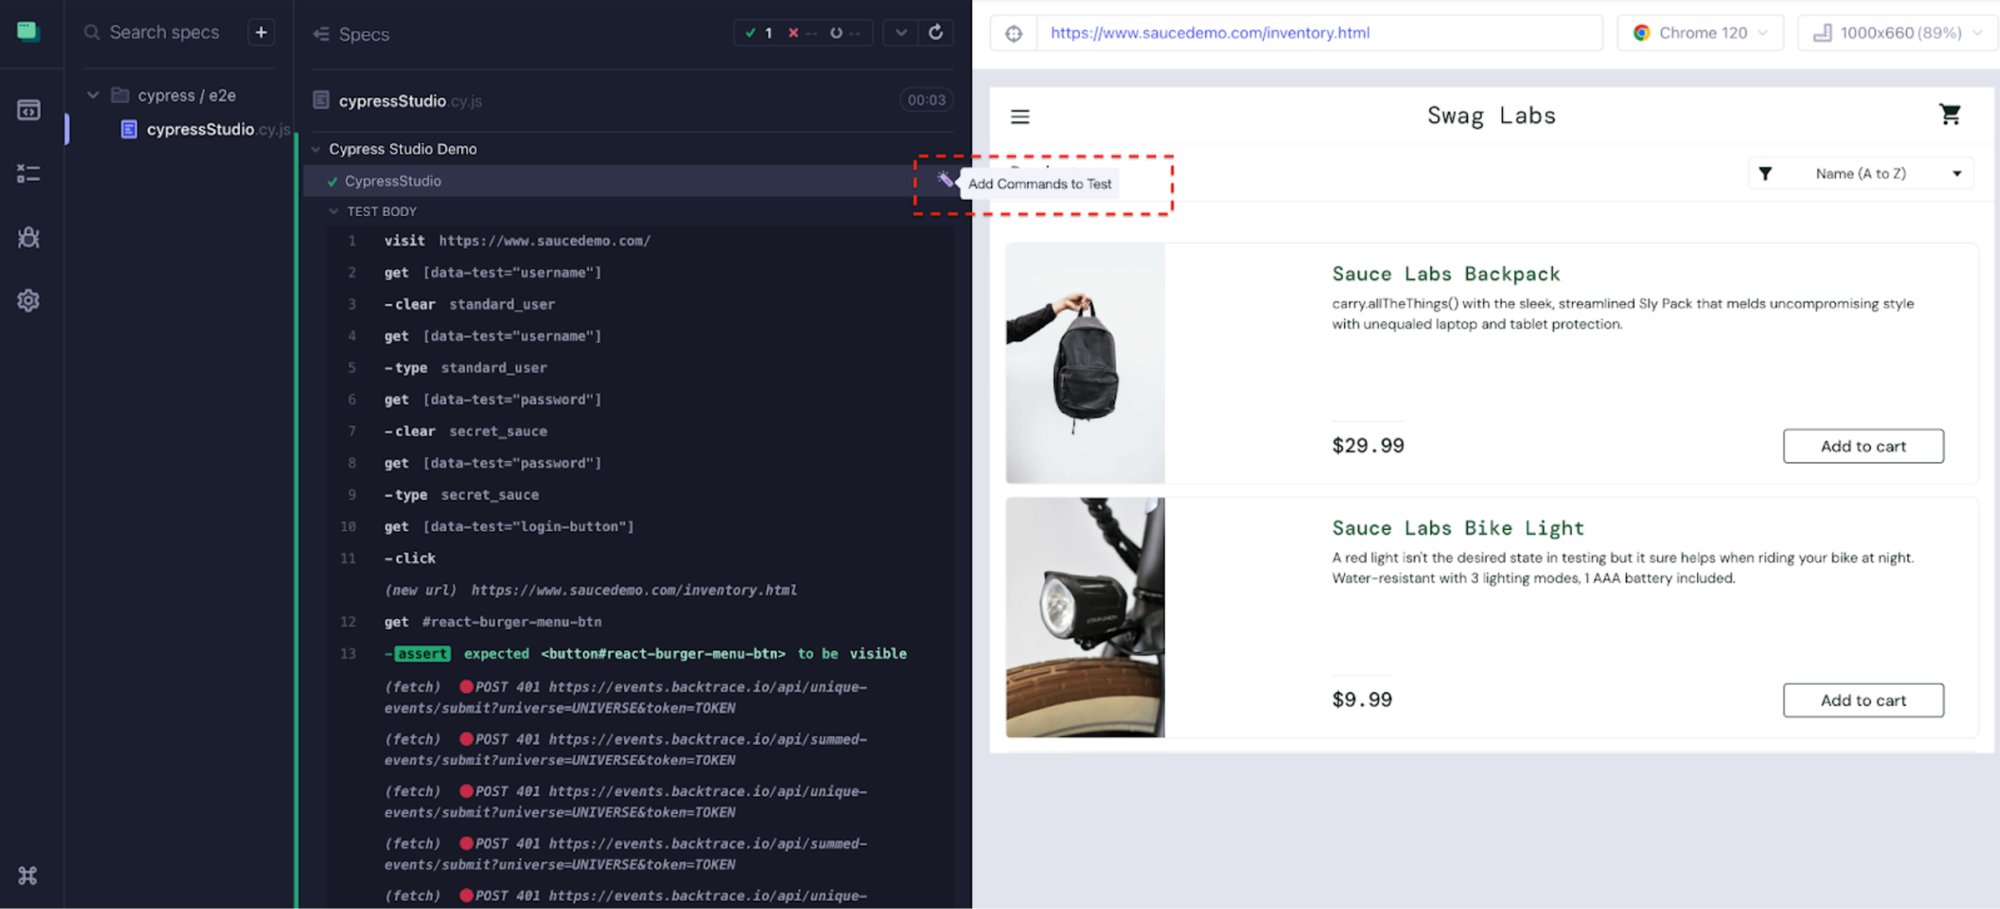
Until now, you've acquired the knowledge of recording and generating a new script through Cypress Studio. In the upcoming section, we will delve into the procedure of incorporating commands into an existing test.
Modify Existing Test Script
With Cypress Studio's 'Add Commands to Test' option, you can seamlessly introduce commands into an existing test script. In the preceding example, we demonstrated a scenario where we logged into the site https://www.saucedemo.com/
Now, let's record the script after login by utilizing the Cypress Studio option 'Add Commands to Test.'

Code has been incorporated into the existing test script, spanning from line #12 to line #18.
describe('Cypress Studio Demo', () => {
/* ==== Test Created with Cypress Studio ==== */
it('CypressStudio', function() {
 /* ==== Generated with Cypress Studio ==== */
 cy.visit('https://www.saucedemo.com/');
 cy.get('[data-test="username"]').clear('standard_user');
 cy.get('[data-test="username"]').type('standard_user');
 cy.get('[data-test="password"]').clear('secret_sauce');
 cy.get('[data-test="password"]').type('secret_sauce');
 cy.get('[data-test="login-button"]').click();
 /* ==== End Cypress Studio ==== */
 /* ==== Generated with Cypress Studio ==== */
 cy.get('[data-test="add-to-cart-sauce-labs-backpack"]').click();
 cy.get('.shopping_cart_link').click();
 cy.get('[data-test="remove-sauce-labs-backpack"]').click();
 cy.get('#react-burger-menu-btn').click();
 cy.get('#logout_sidebar_link').click();
 /* ==== End Cypress Studio ==== */
});
})
Conclusion
Cypress Studio presents an intuitive and user-friendly interface tailored for test script creation. While it may not cover every conceivable scenario or assertion a tester might wish to test, it stands out as an excellent initial step. As users grow accustomed to the generated code, they can progressively expand and tailor it to align with the complexities of their testing needs. The tool generates fundamental code, establishing a solid foundation for beginners venturing into their Cypress journey.